
Drywall repair appears easy at first glance. A little hole, crack, dent, or damaged spot may be what you think is a simple fix with some joint compound and a coat of paint. Many home owners take on the project with confidence which is founded in the idea that the wall will look smooth as new after a quick repair. But once the paint has dried the repair job is usually not what was expected. It may come out raised, sunken, wavy, rough, or a different shade than the rest of the wall.
This is a very common issue with do it yourself drywall repair. What may pass as a fix technically may in fact stand out from the rest of the surface. For a professional result you must pay attention to preparation, use right products, do smooth layers of application, put in time for sanding, match the texture exactly, and blend in the paint. Out of any of these steps the repair will stand out when finished.
For home owners that go for clean finished walls without the do over of patching, out of what causes Uneven Drywall Repair comes a better decision of when to do it yourself and when to call in the pro.
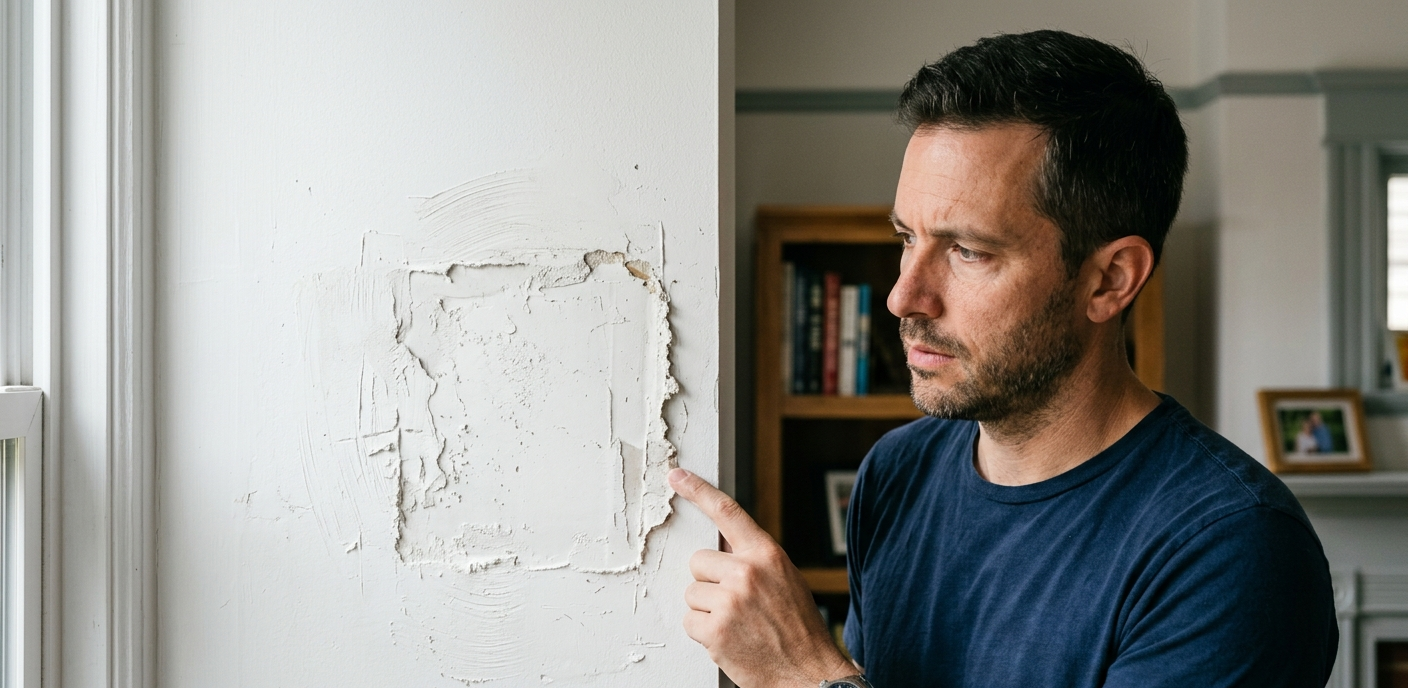
Small scale damage can leave large marks.
Many issues of uneven drywall repair come from improper preparation of the damaged area. What may appear to be a small issue like a hole that just needs some compound is in fact a sign that the surrounding area is weak, cracked, dusty, or loose. If we don’t clean and prepare the surface properly the compound will not attach evenly.
Also a common error is to put filler on top of damaged paper, broken edges, or soft drywall. This results in a weak base. As the compound dries out the patch may shrink, crack, or end up with a rough edge around the repair.
A great way to do drywall repair is to start before you put on the compound. Damaged edges must be cleaned, trimmed and stabilized. Also remove any loose material. For large holes you may need to use a backing or a proper patch. This will create a solid base for the repair to stay flat and blend in better with the wall.
The Patch Outgrows The Wall.
Raised areas are a big issue with do it yourself drywall repair which mostly comes from putting on too much joint compound at once. Thin layers go on easy and dry fast but thick ones do not dry out evenly and are hard to sand smooth. Also thick applications will shrink in the center and leave the edges puffy.
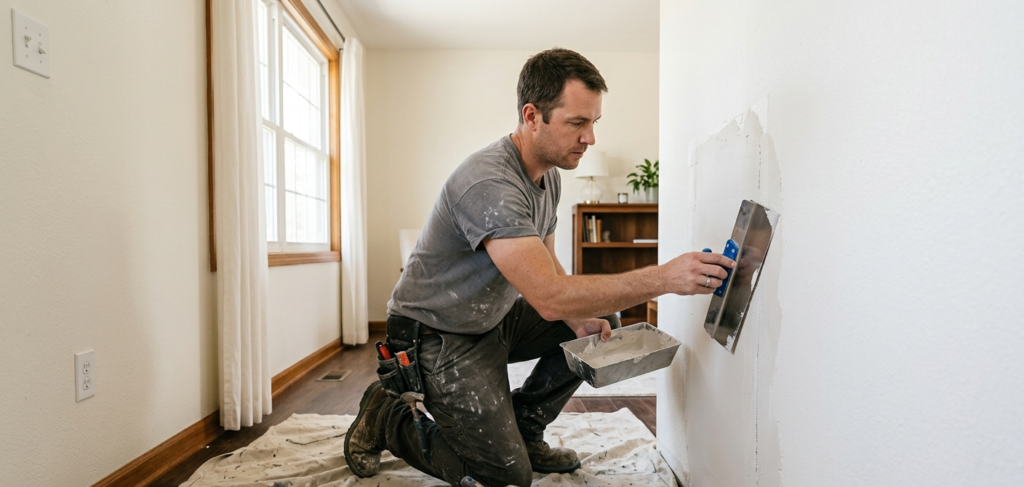
Many people go over to put large layers of material in the damaged area. Instead what we do is to apply thin layers and to expand each successive layer into the adjacent past which we did not cover before. This practice is what we call feathering. It is a technique that gets the repair to blend into the surround wall instead of standing out like a bump.
Professionals will go slow in completing that finish. What they do is apply a layer at a time, let that dry out, sand it in lightly, then put down a thicker layer of the next. This is to achieve a seamless transition between the patched area and the whole wall. If done right the repair will not stand out or leave a ridge.
The Surface Sinks After Drying
At times the putty will look good once applied wet but upon drying it will have sunken in. What we put in to fill — joint compound which has moisture in it as that moisture goes out the material will shrink. Also if the hole is large or the fill is heavy the center may cave in.
This is a typical issue with repair of nail holes, dents, cracks and deep gouges. A single coat will fill in the void at first, but after drying out it may not come out level.
The best option to prevent sunken spots is to apply multiple coats. Each coat should be left to dry before putting on the next layer. For deep damage it may be necessary to use a setting type compound or do a proper patch job before applying the finish coat which in turn will make for a level and smooth surface.
Sanding Leaves Scratches And Waves
Sanding looks simple but in fact it is easy to do too much and ruin a drywall repair. We may sand out the compound and back to the original wall which wasn’t what was intended. Also if sanding is not done evenly it can leave in visible dips, waves, or scratch marks. Sanding with the rough grit can also leave marks which will show through the primer and paint.
Many repair jobs done at home become uneven because we see variation in the sanding pressure used across the patch. We put too much pressure in some areas and not enough in others which results in an Uneven Drywall Repair finish. Also it is a mistake to sand only the center of the patch which leaves raised edges around it.
A finer finish results from light, uniform sanding with the right grit. We aren’t out to remove all of the imperfections. Instead the goal is to round out the edges and make the surface level. Sanding sponges or pole sanders are tools which do this best. After sanding, it is important to remove the dust before you prime.
Wall Texture Does Not Match
Even out of perfectly flat patches they may look different due to texture. Many walls aren’t smooth at all. They may have what we term orange peel, knockdown, hand textural effects, roller marks, or light grain from previous paint jobs.
When a repair job is done on a textured wall it stands out right away. The patched in smooth material reflects light in a different way and has a smoother feel which draws the eye to it even after we paint.
Matching out that textured look takes practice. We play with the thickness of the texture, the design of the pattern, and how we spread it. Also we may use spray texture, roller texture or a hand finished touch. And we have to think of the surrounding wall which may have had that texture done many times in the past. Pro’s will blend the new in with the old outwards so that which which was repaired doesn’t stand out as a different area.
Paint makes the patch stand out.
Paint is a common issue in DIY drywall repair. Lots of home owners only paint the patched area which they hope to blend in. What they find instead is that the repair area may come out shinier, duller, lighter, darker, or cleaner than the rest of the wall.
This occurs as when we put on fresh paint it does not always match old paint exactly. The wall may have changed from the sun, dust, cleaning, moisture, or age. Also at times the original paint will produce a different result if the old wall finish has in fact changed over time.
Primer is key. Joint compound has different reactions to paint as opposed to drywall that has been painted after. Also without primer, the patched in areas may stand out which is to say that they will reflect light at different rates than the rest of the wall. A good application of primer will repair the issue and will also help the top coat to have a uniform look.
For best results pre-treat the patched area first, then paint in diagonal cross strokes as much as possible. Full section painting of the wall will better blend the repair than doing touch up.
Lighting Reveals Every Imperfection
A drywall repair which looks great in the day may at night show as uneven. Also what may from the front look smooth may from the side appear to have issues. This is due to how light plays upon the wall and casts shadow.
Natural light, overhead lights, lamps, and in the hall — they bring out ridges, dips, scratches and texture differences. Side light in particular casts sharp shadows over small imperfections.
Professionals check out drywall repairs at different lighting angles prior to painting. This is to catch out uneven areas early. For do it yourself work, use a light to shine across the wall before primer which will reveal spots that require more sanding or a second thin coat.
Better results in terms of walls.
DIY drywall repair does not look even out as a result of the damage which is present it is almost always the issue in the finish work. Drywall repair is a matter of layering, patience, blend and attention to detail. A rushed patch may cover the damage up but it may also leave an issue which presents itself every time light hits the wall.
A better result is had by preparing the area, using the proper product, applying thin layers, feathering edges, sanding in care, matching texture, properly priming and painting the right section. Each step is a player. Out of which any step you skip may make the repair stand out.
For small nail holes and minor dents do it yourself repair may work. But for large holes, ceiling damage, cracks, water damaged drywall, texture matching, or visible patch marks we recommend professional drywall repair which will save time and prevent you from having to do the work over.
Final Thoughts
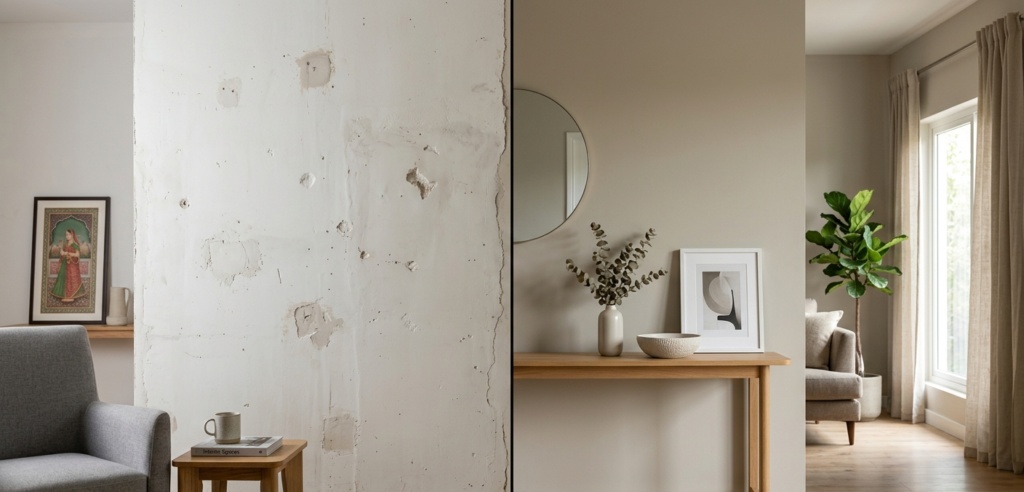
Uneven Drywall Repair can ruin a perfect room’s look. If your fix is still visible after you paint, feels rough to the touch, or is noticeable under lights, it may be time for a pro. A professional can even out the surface, match the texture, and renew the wall to look natural.
In any which way you may need it for drywall patch repair, ceiling repair, crack repair, texture repair, or a full drywall finish we have the right repair solutions for you. We do away with the need to paint over the same area again and again, with proper repair you get a clean look the first time out.