
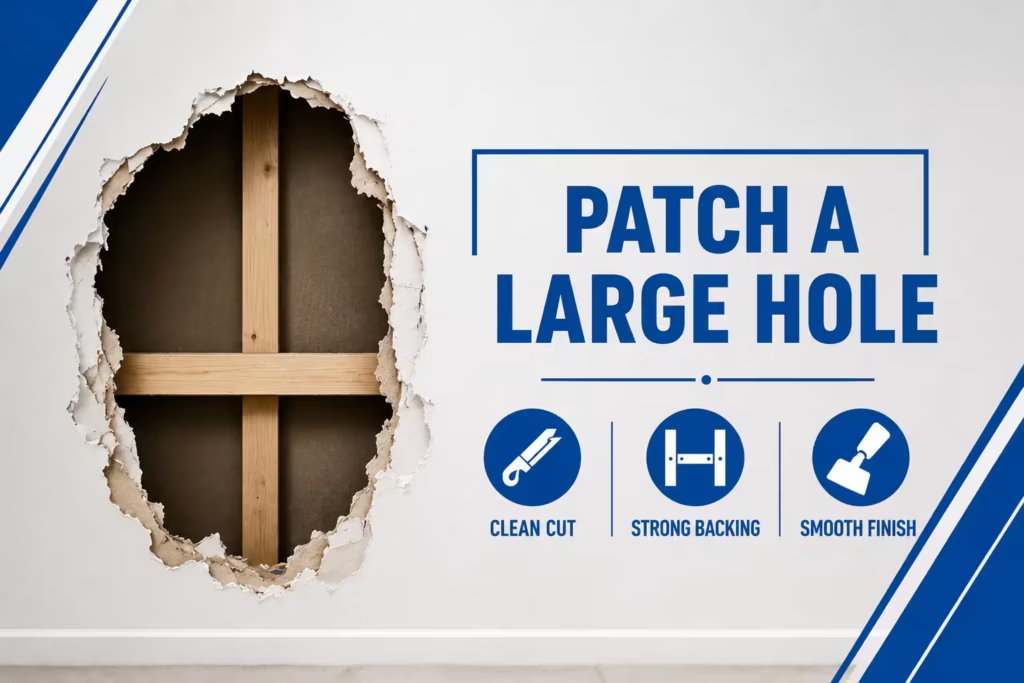
The correct method involves cutting the damaged area into a clean square or rectangle. Then install solid backing support, securing a new drywall patch, apply tape and joint compound, sand smooth, then primer and paint for a seamless finish.
Our experience shows that properly patching a large hole in drywall comes down to two things: preparation and finishing. Rushing the drywall repair process is one of the most common mistakes that homeowners make. This leads to visible seams and drywall flashing as well as uneven surfaces.
Clean cut, solid backing, secure patch, smooth finish.
Step | Purpose | Required Tools | Difficulty | Professional Tip |
Inspect area | Identify damage extent | Utility knife | Easy | Check for hidden cracks |
Cut drywall | Create clean edges | Jab saw, knife | Moderate | Always cut square |
Install backing | Support patch | Wood strips, screws | Moderate | Secure tightly |
Fit patch | Match opening | Drywall sheet | Moderate | Cut slightly smaller |
Secure patch | Hold in place | Screws, drill | Easy | Avoid overdriving screws |
Tape joints | Prevent cracks | Mesh/paper tape | Easy | Keep tape centered |
Apply compound | Smooth surface | Joint compound | Moderate | Thin layers work best |
Sand | Remove imperfections | Sanding sponge | Moderate | Don’t oversand |
Prime | Seal surface | Primer | Easy | Prevent flashing |
Paint | Blend finish | Paint tools | Easy | Match texture first |
Any hole larger than 6 inches typically requires a full patch with backing support.
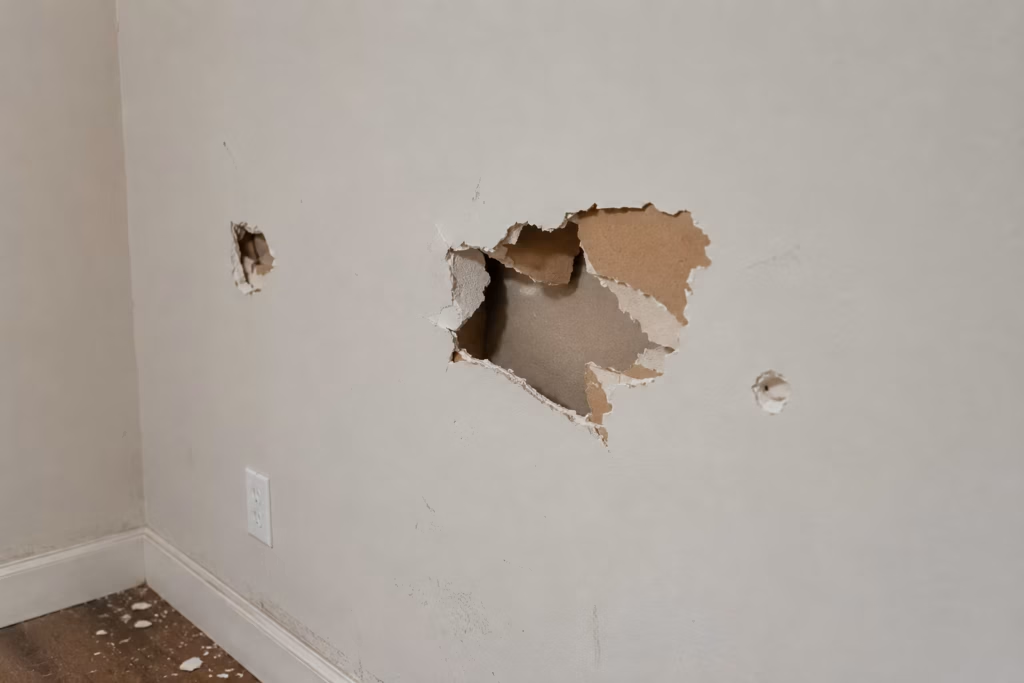
Before we begin a repair project, our team will inspect the surroundings to check for structural integrity.
Having the right tools and materials before you begin makes drywall repair faster, easier, and more professional. Quality equipment also helps create smoother results and reduces the need for extra touch-ups later.
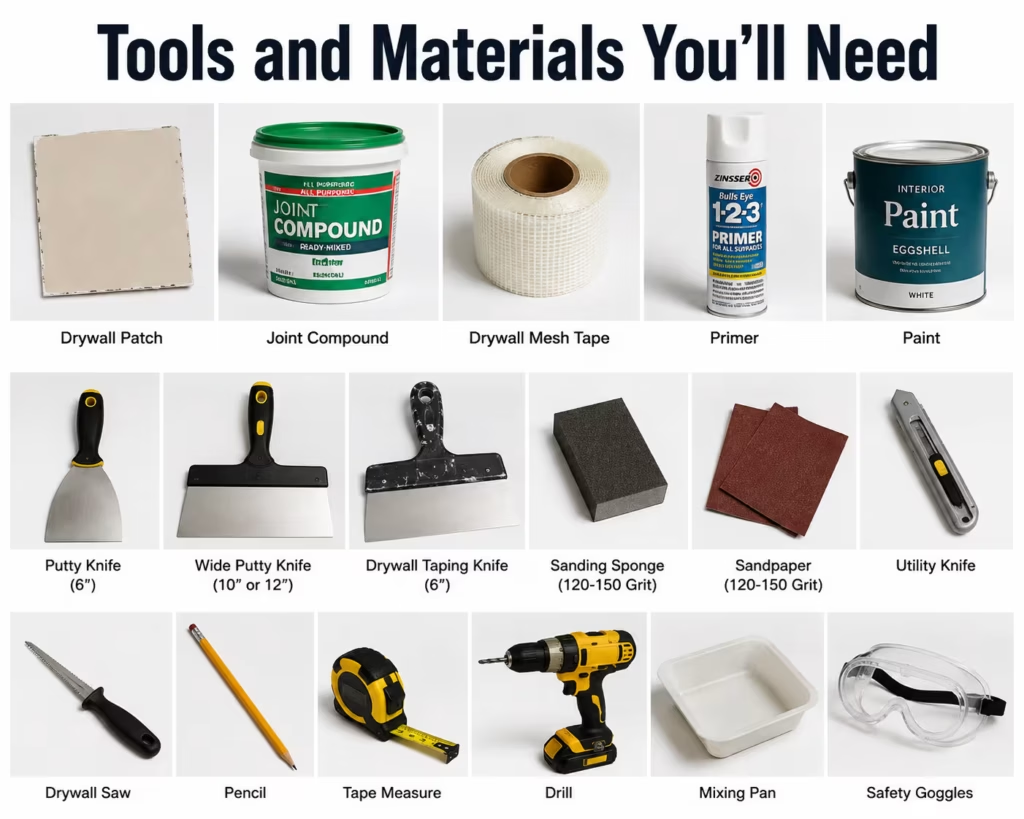
We’ve found that cheap tools often lead to poor finishing and more sanding later.
To ensure strength and a smooth finish, follow this process.
Professional drywall installers avoid shapes that are irregular because it is harder to cleanly finish them.
This creates a solid anchor for the new patch.
We often recommend leaving a slight gap to allow compounds to fill the joints.
Avoid overdriving screws, which can weaken the hold.
Tape prevents cracks from forming later.
One issue we frequently encounter is applying too much compound at once.
The drying time can affect the final finish.
The bumps on drywall are caused by poor sanding.
This step ensures the patch blends seamlessly.
Skipping primer often causes drywall flashing after painting.
The most visible drywall defect is texture mismatch.
The majority of problems stem from poor planning and finishing.
We’ve found that rushing sanding and finishing is the biggest cause of poor results.
DIY drywall repair works well for small holes and minor damage, but larger repairs often require professional skills to achieve a smooth, seamless finish. Choosing the right approach depends on the size of the damage, your experience, and the quality of results you want.
We often recommend DIY for small repairs, but larger patches benefit from professional drywall contractors.
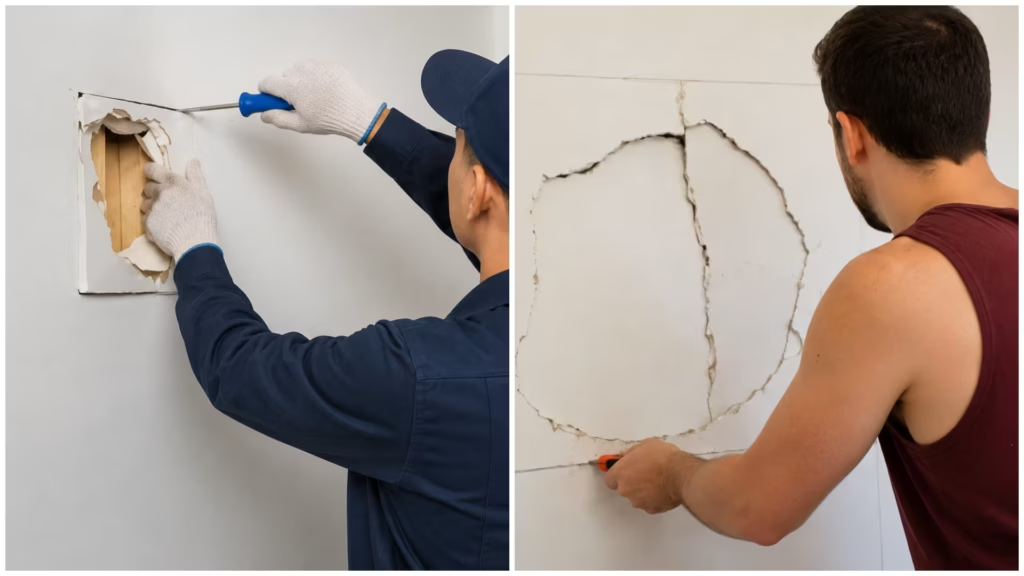
Not all drywall problems require a replacement. The majority of minor cosmetic issues can be fixed, but for more serious ones it is often necessary to remove the existing drywall and install new drywall.
It is important to know when it’s time to repair and replace your drywall. This will help save money, as well as ensure that you have a durable wall and a visually pleasing one.
Condition | Repair | Replace |
Small holes | Yes | No |
Large holes | Yes | Sometimes |
Water damage | No | Yes |
Mold damage | No | Yes |
Structural damage | No | Yes |
In our experience, ignoring severe damage leads to repeated drywall repair and higher long-term costs.
Proper maintenance prevents future damage.
Homeowners often ignore small cracks, which turn into larger repair issues later.
Successful drywall repairs depend on many factors, including the preparation, the backing support and finishing techniques. Each step is critical to achieve a smooth, invisible result. We have found that DIY repair works well for those who are willing to carefully follow the instructions. Hiring a professional is often better for large or visible areas. Focus on the finishing, take your time and use the correct materials. It’s the difference between a patch and a repair done by a professional.
Most repairs take 1–2 days due to drying time between compound coats. Rushing the process leads to visible drywall defects.
This is usually caused by drywall flashing or poor sanding. Proper priming and feathering edges help prevent this issue.
Excess joint compound or insufficient sanding creates bumps. Applying thin coats and sanding properly solves this problem.
Paper tape is stronger and less prone to cracking. Mesh tape is easier for DIY but may require setting compound.
Yes, primer seals the surface and prevents drywall flashing. Skipping it leads to uneven paint appearance.
Share your thoughts below and let us know how we can help with your drywall installation or repair project.
Explore everything you need to know about drywall, from modern design ideas and practical applications to installation tips, maintenance advice, materials, and the latest trends.
Get fast, reliable help with your drywall project, including professional installation, smooth finishing, quality repairs, and expert support from start to finish.
